
How to press flowers and leaves
Interested in giving nature pressing a try? Here are some simple tips to get you started.


Selecting your flowers and leaves:
You can pick flowers from your garden or gather wildflowers from the woods or a field. Flowers with naturally flat faces such as daisies, pansies and cosmos are easiest to press. And don’t forget the greenery. Ferns are some of my favorite things to press.
It’s important to collect your plants when they are not wet from rain or dew. Wet plants will mold in your press with even the slightest amount of moisture.
Avoid flowers with thick, watery centers like tulips and lilies.
One important step (that I always forget) is to give your plants a little shake before you bring them inside so you don’t have any little bugs join you.


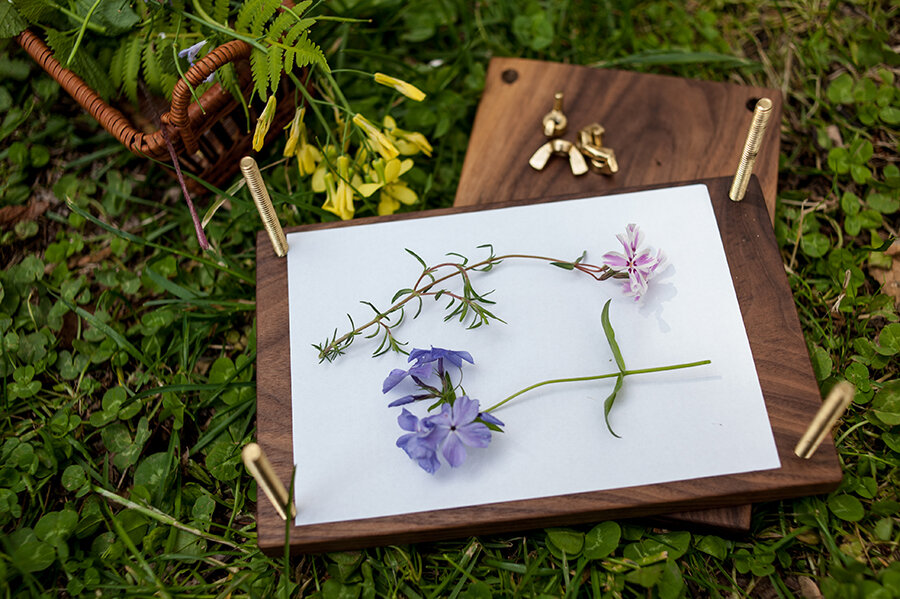
Pressing your specimens:
The most common type of nature press is 2 pieces of solid wood held together with bolts and wing nuts. This will give you nice equal pressure on your specimens while they dry and will look nice sitting on your shelf while you wait. But it’s important to note that you can make a very simple nature press using items you most likely already have in your home. If you don’t want to purchase a press at the moment, all you need to do is gather some cardboard, paper and rubber bands.
Place a piece of cardboard on the bottom layer of your press followed by a piece of white paper. No need to get fancy here. I find the best kind of paper is regular plain paper. You can use printer paper or save your discarded paper from your recycle bin. I have made many presses by cutting up old cardboard packages. It does help to find a smooth piece of cardboard if possible, as cardboard with noticeable ridges can leave lines in your delicate flowers. Pansies, in particular, show lines very easily.
Lay your specimens on the white paper allowing space in between each one. It’s best to keep the same type of flower per page so they dry evenly. It may also be easiest to lay the flowers face down so they flatten easily in their natural state. Gently cover specimens with another piece of white paper followed by another piece of cardboard.
Now you are going to keep stacking your ‘sandwich’ by repeating cardboard, paper, plants, paper, cardboard and so on. You will end with a cardboard layer on top.
Gently place the wooden top on to your press, lining up the holes with the bolts.
Gently tighten the wing nuts so all layers are secure. Be careful not to over tighten as this can turn your plants translucent, especially the white or most delicate ones. Pressing flowers is always an experiment and you will learn more about what works and what doesn’t with practice and a little bit of trial and error.
If you are using a homemade press you can wrap a tight rubber band around your cardboard sandwich to hold it in place or put your stack under a couple heavy books.
Wait 7-10 days, depending on thickness of plants. Open carefully and check if your flowers are flat and dry. If flowers show any sign of moisture, place them back in the press for a few more days. Remove when completely dry.
You are now free to use your beautifully pressed flowers in art projects and for display.


Collect responsibly: Responsible foraging means not taking any plants that are endangered or rare. Only ever take what you need, and what you can sustainably remove without damaging the plant. Remember to leave blooms behind for other people, and bees to enjoy and never take from a plant with a single bloom. Never collect your flowers from private gardens or parks without permission and be aware of native wildflowers as they may be endangered or threatened and some are protected by law.